Last updated November 21, 2026
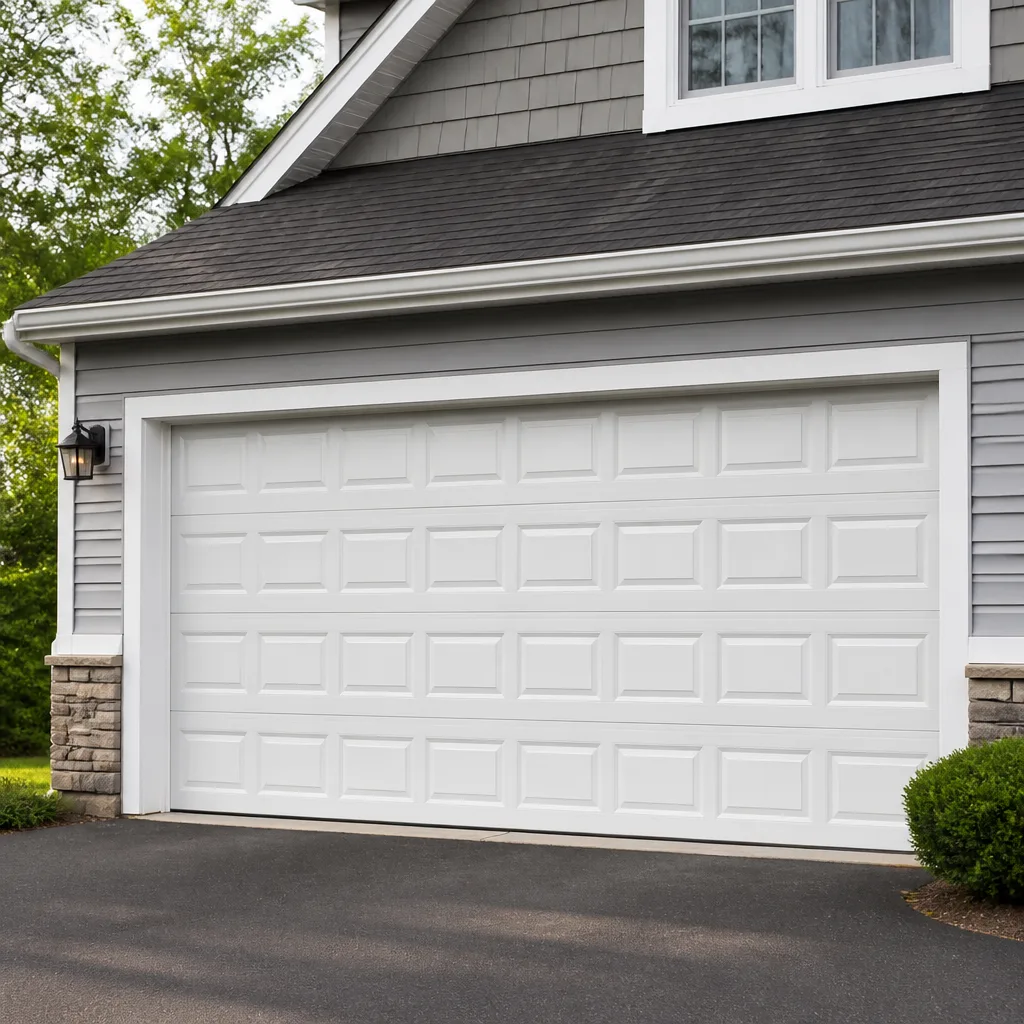 Raised-panel steel
 Carriage house
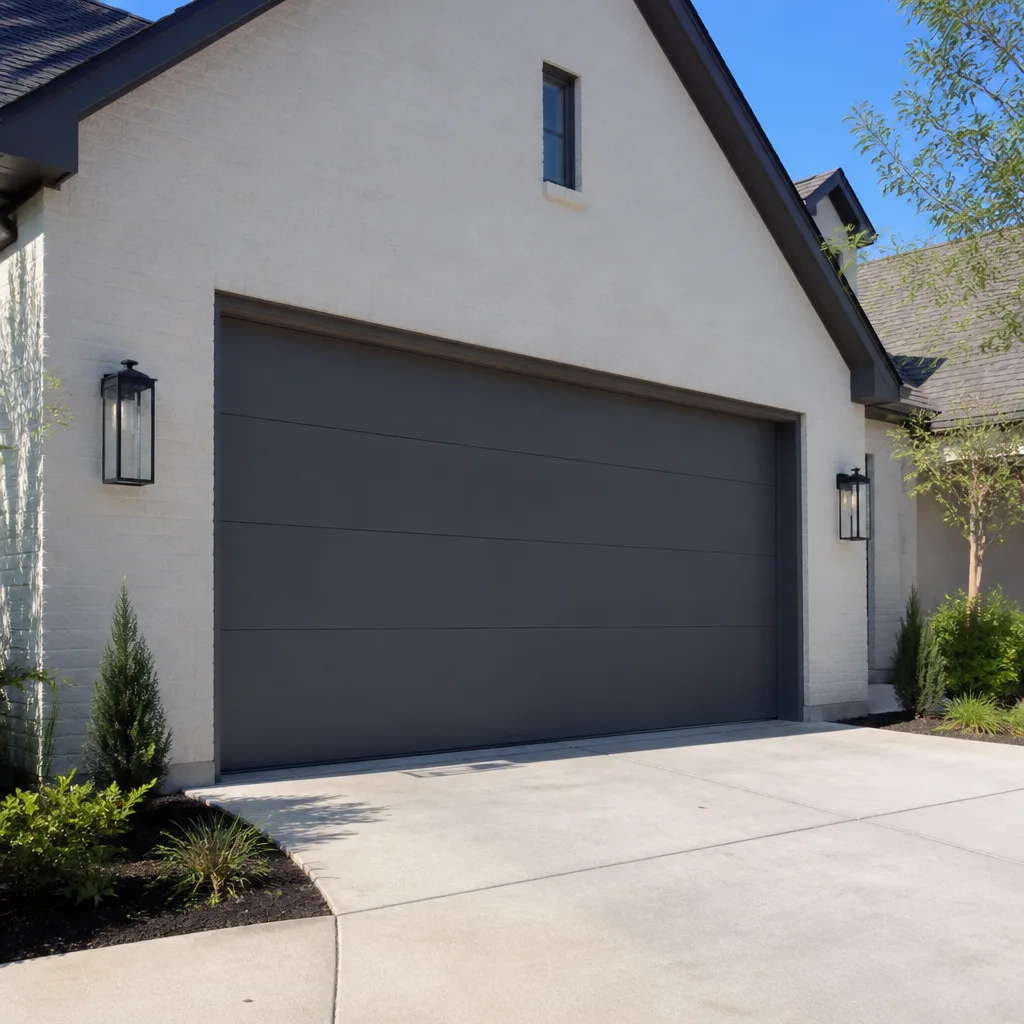 Modern flush
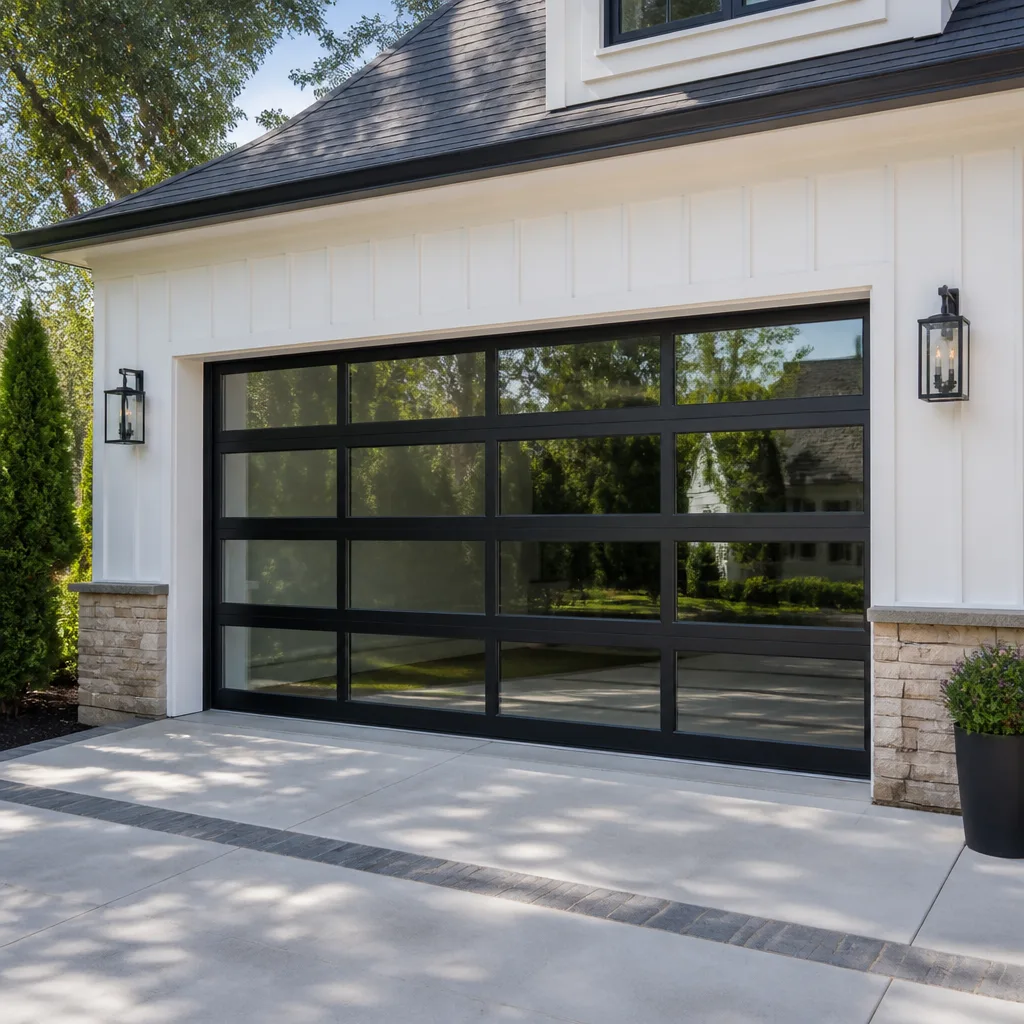 Full-view glass
 LiftMaster openers
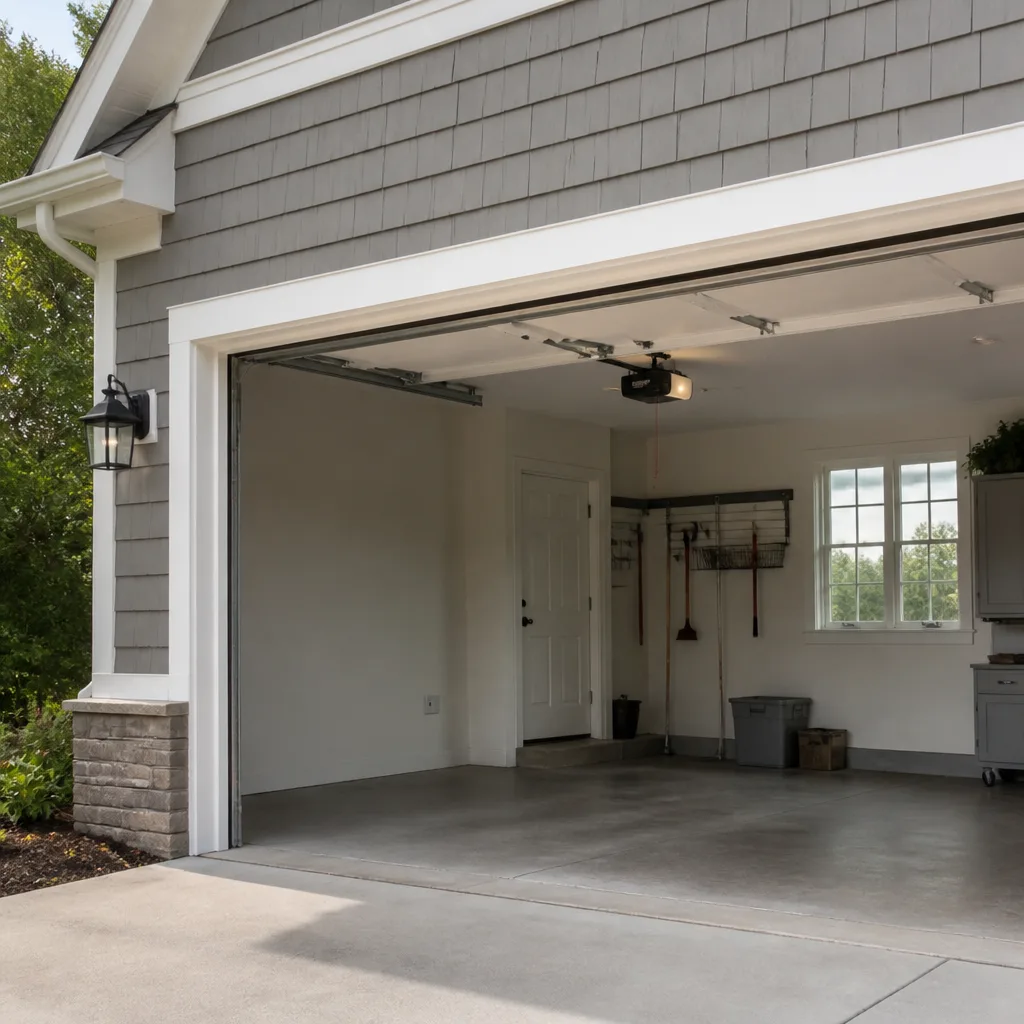 Chamberlain openers
Full 25-point door and opener safety check with every visit - springs, cables, rollers, tracks, and your LiftMaster or Chamberlain opener included
You get a price before we start. It does not change when the pro arrives.
Get your free estimateDIY vs Professional Garage Door: The Lake City Homeowner’s Decision Guide
Most advice about garage doors splits into two useless camps: “never touch it” or “watch a video and save the money.” Neither is honest. The real question isn’t whether you’re handy. It’s whether the specific task in front of you stores enough energy to hurt you when it goes wrong. A torsion spring under tension can kill someone when it fails, and that’s not a liability clause, it’s physics. But lubricating rollers, realigning a photo-eye, and checking panels for cracks are jobs any prepared homeowner can handle. This guide draws that line precisely, task by task, so you know which jobs are ordinary maintenance and which ones belong to a trained technician.
Quick Answer
Some garage door work is safe and sensible for a homeowner: lubrication, sensor alignment, visual inspection, and replacing a remote battery. The rest – torsion springs, cables, bottom brackets, and anything involving the opener’s internal gearing or the door’s balance – belongs to a trained technician, because the injury risk is structural, not a matter of skill. For anything on the professional side in Lake City, a call to Lake City Garage Door Repair gets you a written price before work starts, and our technicians have up to 11 years of experience with the parts and brands most homes here actually have.
Styles & brands we work with
- Raised-panel steel
- Carriage house
- Modern flush
- Full-view glass
- LiftMaster openers
- Chamberlain openers
Table of Contents
- Where the Line Actually Falls
- The Task-by-Task Table
- Torsion Springs: What Stored Energy Really Means
- Why Extension Springs Are a Separate Conversation
- Washington Liability: What Happens If a DIY Repair Causes Damage
- The Real Cost Comparison for Close Calls
- When a Simple DIY Task Reveals a Bigger Problem
- DIY Prep, Pro Finish: The Hybrid Jobs
Where the Line Actually Falls
The garage door is the largest moving object in most Lake City homes, and it’s also the one with the most stored mechanical energy. That combination is why the DIY calculus here is different from almost any other repair around the house. A leaky faucet that you make worse costs you a plumber’s visit. A garage door you make worse can cost you a door, a car, or a finger.
So we don’t frame this as skill versus no skill. We frame it as three categories:
- DIY-appropriate: tasks where a mistake causes inconvenience, not injury. Lubrication, sensor alignment, visual inspection, tightening exposed nuts and bolts, replacing remote batteries, wiping down tracks.
- Professional-only: tasks where a mistake can cause serious injury regardless of how careful you are. Torsion springs, extension springs, cables, bottom brackets, drums, and opener internal gearing.
- DIY prep, pro finish: tasks where your involvement genuinely helps but the final step needs a trained hand. Measuring for a new door, clearing the garage so a technician can work safely, and gathering the details of what you’ve observed.
The tricky part is that the categories don’t always line up with how dangerous the task looks. A visibly coiled torsion spring looks scary and is. A thin steel cable looks harmless and is just as dangerous. An opener that’s grinding sounds alarming and is usually a straightforward fix. That mismatch is why we’ve seen homeowners confidently tackle a task they should have left alone and nervously overthink one they could have handled themselves. In Lake City and across the region, the pattern holds: the jobs that look easy and the jobs that are safe aren’t always the same jobs.
Below, the table breaks every common garage door task into one of those three buckets, and each row explains the reasoning so you can extrapolate to whatever you’re facing.
The Task-by-Task Table
Here’s the definitive breakdown. Read the reasoning column, not just the classification, because the reason is what tells you whether your specific situation fits the bucket.
DIY-Appropriate Tasks
- Lubricating hinges, rollers, and springs: Safe, useful, and extends the life of the hardware. Use a proper garage door lubricant, not WD-40, and apply it to the moving joints, not the tracks.
- Aligning or cleaning photo-eye sensors: If the door reverses immediately after closing, the sensors are the first thing to check. Wipe the lenses and confirm both are pointed at each other. Safe and simple.
- Visual inspection of panels, seals, and hardware: Walk the door, look for cracked panels, worn weatherstripping, loose bolts, and frayed cables. Identifying a problem is always safe. Fixing some of them isn’t, which is why we separate the two.
- Replacing a remote or keypad battery: Obvious and harmless.
- Tightening exposed nuts and bolts on the track brackets: Safe as long as the door is fully closed and you’re not adjusting the track’s position, only snugging loose fasteners.
- Clearing obstructions and sweeping the tracks: Debris in the track causes most false obstructions. Cleaning it out is a five-minute job.
Professional-Only Tasks
- Torsion spring replacement or adjustment: The highest-risk task on any garage door. Covered in detail below.
- Extension spring replacement: Still stored energy, still dangerous, even though the risk profile differs from torsion.
- Cable replacement or adjustment: Cables are under tension and can whip when released. A cable that snaps while you’re near it can cause serious injury.
- Bottom bracket work: The bottom bracket holds the cable under tension. Removing it without releasing the tension correctly is a common and dangerous mistake.
- Drum and winding bar work: This is the mechanism that holds the spring tension. It is professional-only, without exception.
- Opener internal repair: Gears, logic boards, and drive assemblies. Some of this is fiddly, some of it involves line voltage. Either way, it’s not homeowner work.
- Track replacement or realignment: A misaligned track can cause the door to come off its rollers, and getting the geometry right takes the right tools and experience.
DIY Prep, Pro Finish
- Measuring for a new door: You can take the measurements yourself and bring them to a consultation, but a professional measure confirms the opening is square and catches the details that affect fit.
- Clearing the garage for a technician visit: Genuinely helpful. A clear workspace lets the technician work faster and safer.
- Gathering symptoms and observations: Write down what you’ve noticed – when the noise happens, whether the door reverses, whether the light blinks a certain number of times. That information saves diagnostic time.
- Photographing the problem: Photos of a frayed cable, a cracked panel, or a bent track help a technician understand what they’re walking into before they arrive.
If you’re not sure which bucket your task falls into, the safe default is to treat it as professional-only until someone qualified tells you otherwise. A free estimate costs less than a mistake in Lake City.
Torsion Springs: What Stored Energy Really Means
A torsion spring is a coiled steel bar that holds the entire weight of your garage door. When the door is down, the spring is wound tight; when the door goes up, the spring unwinds and gives back the energy it stored. That’s the whole mechanism. The door feels light because the spring is doing the lifting.
Here’s the part that matters: a torsion spring under tension stores enough energy to cause a fatality when it fails under tension. That’s not a warning label. That’s an accurate description of the force involved. When a torsion spring breaks, it doesn’t fail gently. It releases in a fraction of a second, and if a person is in the path of the winding bars or the spring itself, the result can be catastrophic.
This is why “I watched a tutorial” doesn’t change the risk profile. The tutorial can show you the motion, the tools, and the order of steps. It cannot change how much energy is stored in a wound spring. It cannot teach your hands the feel of a spring that’s about to slip. It cannot tell you that the spring you bought is the wrong wind for your door. And it cannot be there when the spring lets go.
We’ve seen the aftermath enough times to be blunt: spring work is a core competency for us, not an upsell. We treat it that way because the risk is real, and because the tools required – proper winding bars, not screwdrivers – exist for a reason. A screwdriver used as a winding bar can slip out of the winding cone and become a projectile. That’s a known failure mode, not a hypothetical.
What can a homeowner safely do with springs? Look at them. Note whether they’re torsion (horizontal bar above the door) or extension (running along the tracks on either side). Note whether there’s a visible gap in the coil, which usually means a broken spring. Note whether the door feels unusually heavy when you lift it manually, which suggests the springs aren’t doing their job. Then stop. That’s the safe contribution.
If you’re in Lake City and your door won’t lift, or it slams down, or there’s a visible gap in the spring, that’s the moment to stop and call. Spring repair is a same-day service for us in most cases, and we’ll quote it before we start. That quote is the price you pay.
Why Extension Springs Are a Separate Conversation
Torsion springs get most of the attention, and they deserve it. But plenty of Lake City homes have extension springs instead, and it’s worth understanding how they’re different, because the difference changes both the risk and the failure mode.
Extension springs run along the horizontal tracks on either side of the door and stretch rather than twist. When a torsion spring fails, it usually breaks and stays in place. When an extension spring fails, it can travel. That’s why extension springs are supposed to have a safety containment cable running through the center of the spring – a steel cable that keeps the broken spring from flying across the garage. If your extension springs don’t have those cables, or the cables are loose or damaged, that’s a safety issue that needs professional attention.
The DIY distinction: extension springs are somewhat more accessible for visual inspection because they’re out in the open. You can see whether the safety cables are present and properly routed, whether the springs look stretched or sagging, and whether there’s obvious wear at the hooks. That inspection is safe and worth doing. What isn’t safe is replacing or adjusting an extension spring yourself. They’re still under significant tension, and the failure mode – a spring that travels – is arguably worse than a torsion failure because it sends hardware through the air.
Another difference: extension spring doors are more prone to the door coming off track when a spring fails, because the springs are attached to the track system. If you notice your door is crooked or one side is higher than the other, stop operating it. Running an unbalanced door damages panels and track and makes the repair more expensive. In Lake City, where many homes have older doors that have been through plenty of freeze-thaw cycles, this is worth checking after any particularly cold stretch.
For either spring type, the professional rule applies. We handle both, and we can tell you within a few minutes of looking which type you have and what the replacement involves.
Washington Liability: What Happens If a DIY Repair Causes Damage
This is the part most DIY guides skip, and it’s the part that can follow you for years. If you perform a garage door repair yourself and it later causes injury or property damage, your homeowner’s insurance claim can be affected in ways that aren’t obvious at the time.
The general principle: homeowners policies cover accidental damage, but insurers investigate cause. If a claim is filed and the investigation concludes that the damage resulted from a self-performed repair that didn’t follow accepted practice, the insurer may dispute coverage or decline the claim. We’re not lawyers and we can’t tell you how your specific policy reads – that’s a conversation with your insurer – but the pattern is common enough across the industry that it’s worth knowing going in.
The more immediate risk is the injury itself. If a family member or a visitor is hurt by a door you repaired and the repair is determined to be a contributing cause, the liability exposure is personal. Washington follows comparative fault rules, which means a court can apportion responsibility – including to the person who did the work. That’s not a scare tactic. It’s the reason professional garage door work carries insurance and licensing requirements in the first place.
There’s also the warranty angle. Most garage door manufacturers tie their product warranty to proper installation and service. If you replace a spring yourself and the door fails three months later, the manufacturer can reasonably argue the failure traces to your work. That argument is hard to beat without documentation from a qualified technician.
What does this mean practically for a Lake City homeowner? Two things. First, for anything on the professional-only list, the DIY savings aren’t really savings, because you’re trading a known cost for an unknown liability. Second, when you do hire, ask whether the person doing the work is properly licensed and insured. The local professionals we connect homeowners with are licensed and insured as their state requires, and we work with your insurer when a claim is involved. We don’t bill your insurance directly, but we can provide the documentation your insurer will ask for.
The Real Cost Comparison for Close Calls
Most of the DIY-or-pro question isn’t close. Nobody should be winding a torsion spring. But a few tasks genuinely sit on the line, and for those it’s worth doing the math honestly. Here’s where the real comparison lives.
Lubrication
DIY: A can of garage door lubricant costs a few dollars and takes about fifteen minutes. Professional: You’d pay for a service visit. This one is DIY, clearly. No safety reason to hire it, and you’ll do it more often if you own the effort.
Sensor Alignment
DIY: Free, takes minutes, and the fix is usually as simple as wiping the lenses or nudging a sensor bracket. Professional: Worth calling if the sensors are damaged, the wiring is compromised, or realignment doesn’t hold. That’s when it stops being a sensor problem and becomes an opener or wiring problem. This is one of the most common reasons people call us in Lake City, and it’s often a five-minute fix we can walk through or do on arrival.
Opener Repair
DIY: Limited to checking the power source, the wall switch, and the remote battery. Beyond that you’re into the opener’s internals. Professional: The real comparison here isn’t money, it’s scope. If your LiftMaster or Chamberlain opener is blinking a fault code, the code tells a technician exactly what’s wrong. A homeowner guessing at the code spends an afternoon and often buys the wrong part. For garage door opener repair in Lake City, the diagnostic usually takes less time than the trip to the hardware store.
Panel Replacement
DIY: Panel replacement is doable for a confident homeowner with the right panel, but it’s fiddly and the tolerances are tight. Professional: The cost difference is modest, and the pro version includes getting the panel aligned so the door operates smoothly and the warranty stays intact. For most people, this is a pro job on the value calculation alone.
New Door Installation
There’s no realistic DIY comparison here. A new door has to be measured for a square opening, ordered to the right size and wind, installed with the springs tensioned correctly, and connected to the opener. The risk of a mistake at any step is high, and the cost of the door makes the risk expensive. If you’re pricing a new door, the number to compare isn’t a DIY price, it’s an installed price with a warranty. That’s what garage door installation includes, and why we measure before quoting.
Where the Pro Cost Includes More Than Labor
This is the part the DIY comparison usually misses. When you hire, you’re not just paying for the hour of work. You’re paying for the warranty on the part and the workmanship, the liability coverage if something fails later, the correct parts sourced the first time, and the diagnostic eye that catches a second problem before it becomes a second service call. For tasks under the sixty-dollar line, DIY usually wins. Above it, the warranty and liability math starts favoring professional work quickly.
When a Simple DIY Task Reveals a Bigger Problem
This happens more than you’d think: you start with a task on the DIY-appropriate list, and it turns into something else. Maybe you go to lubricate the rollers and notice a cable has a broken strand. Maybe you go to clean the sensors and find the door is out of balance. Maybe you tighten a track bolt and realize the track is bent. What you do next matters.
Here’s the sequence, in order:
- Stop operating the door. Don’t try it once more to see if it’s really a problem. If you’ve found something that looks wrong with the cables, springs, brackets, or track, the safest thing is to leave the door where it is.
- Secure the door if it’s open. Lower it gently by hand if you can do so safely. Don’t force it. If the door won’t move or feels dangerously heavy, leave it and keep people and vehicles clear.
- Keep people and pets away from the door. A door with a compromised spring or cable can drop unexpectedly. Don’t park under it, don’t walk under it, and don’t let kids use the garage as a play area until it’s inspected.
- Disconnect the opener if the door is stuck. The manual release cord lets you disengage the opener from the door. Pull it only when the door is fully closed, and only if you can do so safely.
- Photograph what you found. Photos of the broken part, the surrounding hardware, and any unusual wear help a technician understand the problem before they arrive.
- Write down what you observed. What you were doing when you noticed it, whether the door made any unusual noise, whether anything changed recently. This saves diagnostic time.
- Call a professional and describe it clearly. Tell them what you found, what you were attempting, and what state the door is in now. They can tell you whether it’s safe to leave it where it is or whether you need to take further precautions.
We ask this because it lets the technician pick up where you stopped safely, rather than starting from scratch or, worse, working on a door that’s been moved into an unsafe position. If you’re in Lake City and you’ve found something during a DIY task, garage door repair is the call to make, and we’d rather hear from you before something else goes wrong than after.
DIY Prep, Pro Finish: The Hybrid Jobs
Some of the most valuable homeowner work is preparation, not repair. If you’re heading toward a professional visit, here’s what to do before the technician arrives – it’s genuinely useful and it’s entirely safe.
- Clear the garage floor. A technician needs room to work under and around the door. Move the car, clear the space directly behind and beneath the door, and make sure there’s a path to the opener.
- Take measurements. Width and height of the door opening, plus the headroom above the door and the side room on each side. If you’re replacing a door, these numbers save time on the first visit and often on the ordering process.
- Write down the brand and model. Check the door panel, the opener housing, or the manual. If you’re not sure, a photo is fine. Lake City homes have a mix of door types, and knowing what you have helps a technician arrive with the right parts rather than needing a second trip.
- Note the symptoms. “Noisy when it opens” is not specific enough. “Grinding noise the last third of the way up, and the light blinks twice when it reverses” is. The more specific you are, the faster the diagnosis.
- Photograph the problem area. Springs, cables, tracks, opener – a photo helps more than a description in most cases.
- Check the opener’s manual for fault codes. Many openers use blinking lights to communicate trouble. Writing down the sequence saves diagnostic time.
The reason this matters: garage door work is time-sensitive and the cost of a return visit for a missing part or an unmeasured opening falls somewhere. We carry parts for the brands we service – LiftMaster, Chamberlain, Genie, and Raynor among them – which is why a stocked technician often gets the door working in one visit rather than two. Good preparation on your end makes that visit more efficient. If you’re working with a Raynor or Genie door and want to skip the guesswork on parts, that’s exactly the scenario where our parts supply capability earns its keep.
Common Mistakes to Avoid
- Using a screwdriver as a winding bar. It slips out of the winding cone. It becomes a projectile. The proper tool exists for a reason. If you don’t own winding bars, that’s the signal that this task isn’t for you yet.
- Treating a broken spring as a “door that’s just stiff.” If the door feels heavier than normal when you lift it by hand, the spring is likely broken or losing tension. Continuing to operate it with the opener strains the motor and can bend the door. In Lake City we see this most often after a cold snap, when older springs are more likely to fail.
- Pulling the manual release while the door is open. The door can slam down. The release is designed for use when the door is fully closed.
- Assuming a new remote will just work. Openers and remotes have to be compatible, and some brands pair differently depending on the model year. Buying a remote before verifying compatibility is a common way to spend an afternoon frustrated.
- Ignoring a door that reverses for no obvious reason. The sensors are the first suspect, but a misaligned track, a binding roller, or an opener problem can also cause it. Don’t keep pressing the button and hoping – investigate methodically, and call if you can’t find it.
- Cleaning the tracks with solvent. Tracks should be clean and dry, not greased and not washed with degreaser. Grease in the tracks collects grit and actually makes the door harder to operate.
- Replacing a single spring on a paired system. If you have two springs, they were matched and they’ve done the same work. Replacing one and leaving the other is a lopsided repair that tends to fail again sooner. If you’re calling for spring work in Lake City, expect the conversation to cover both springs, even if only one has broken.
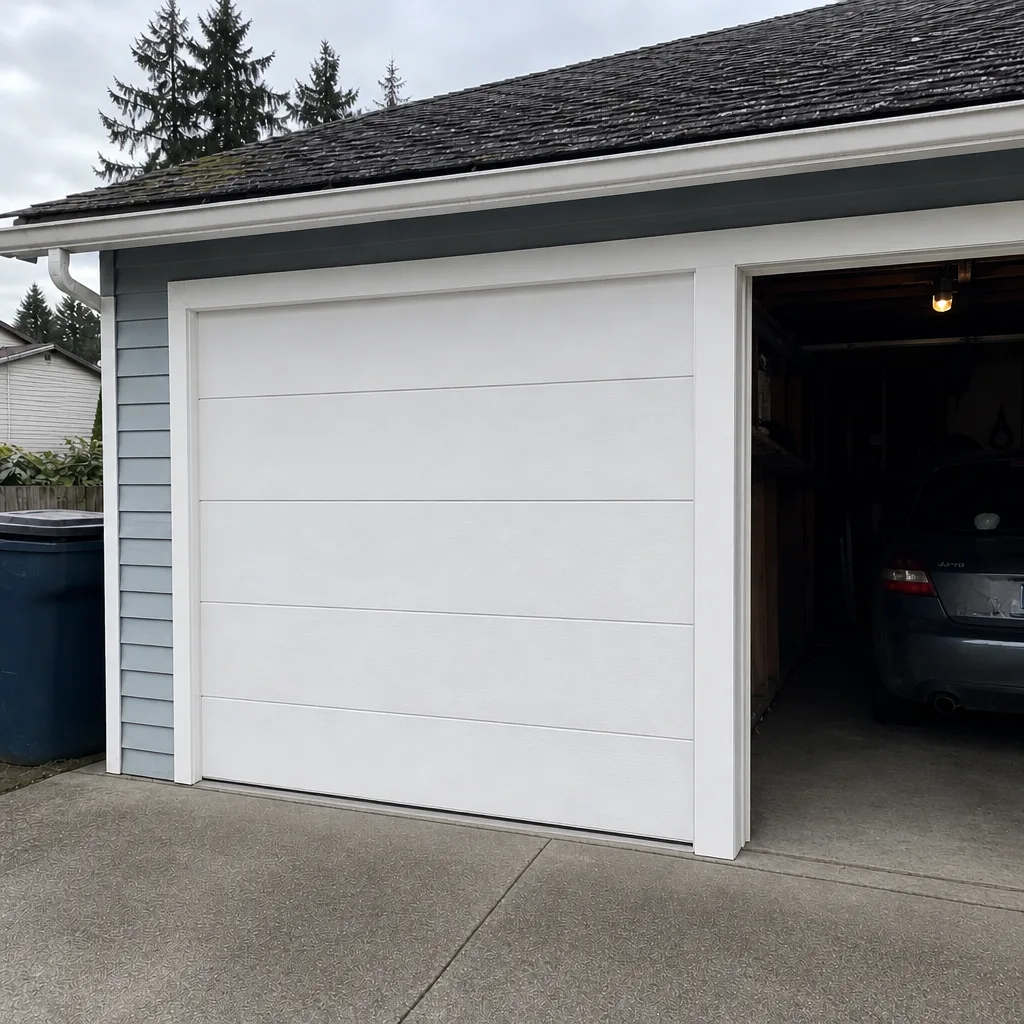
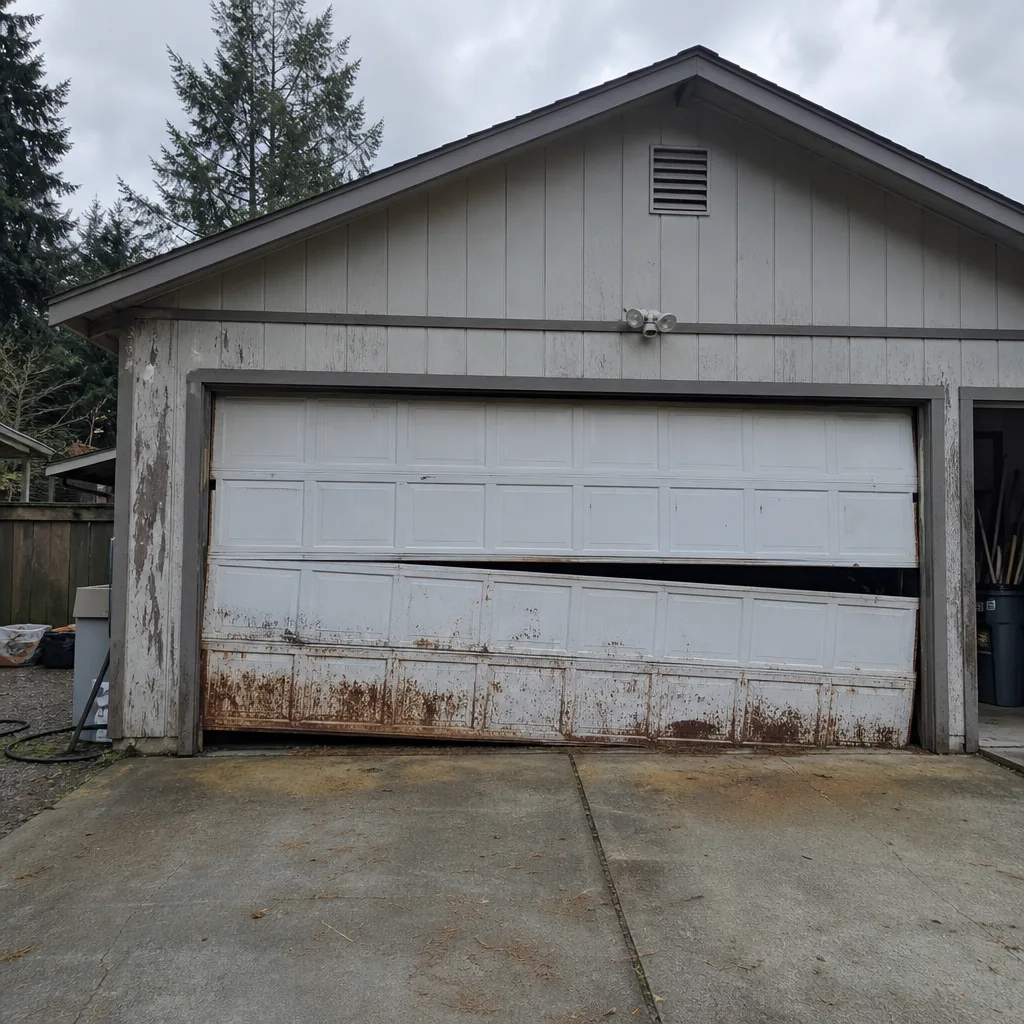
See the difference
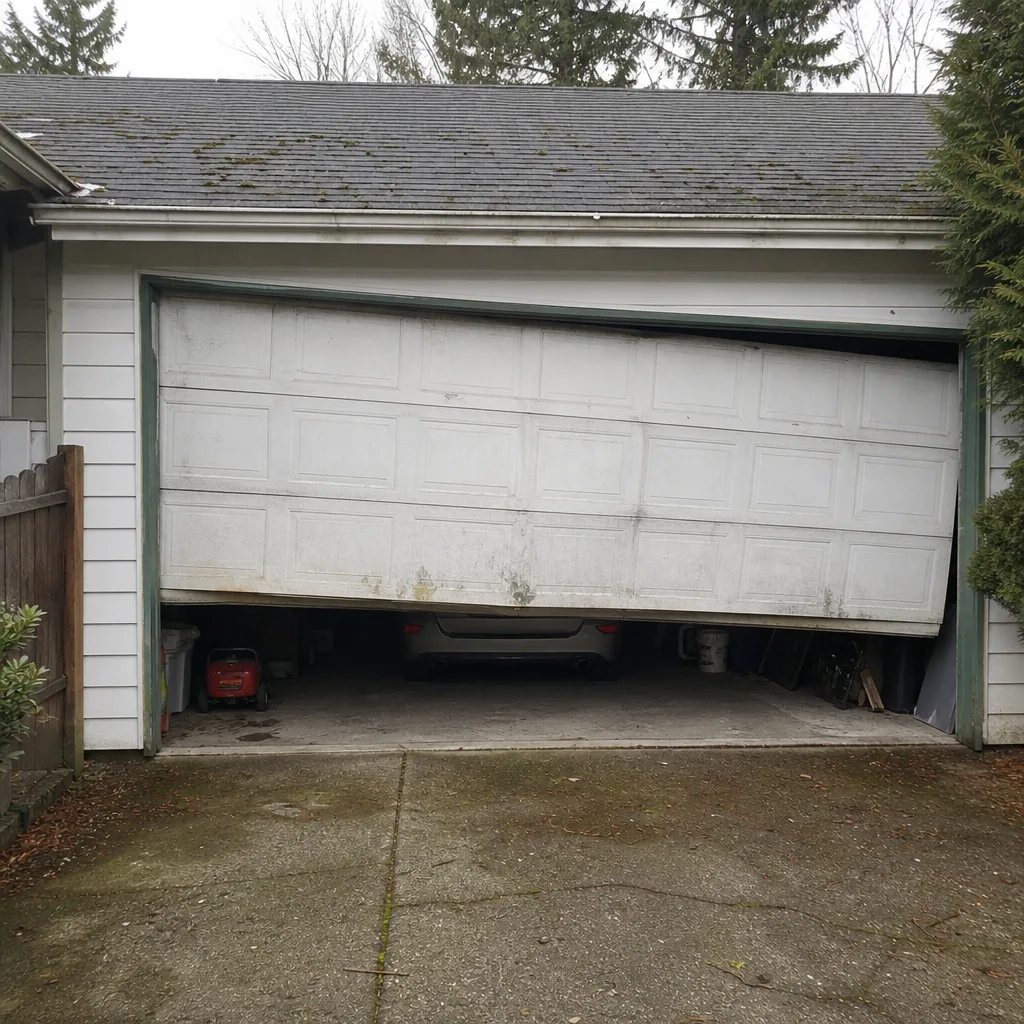 Before
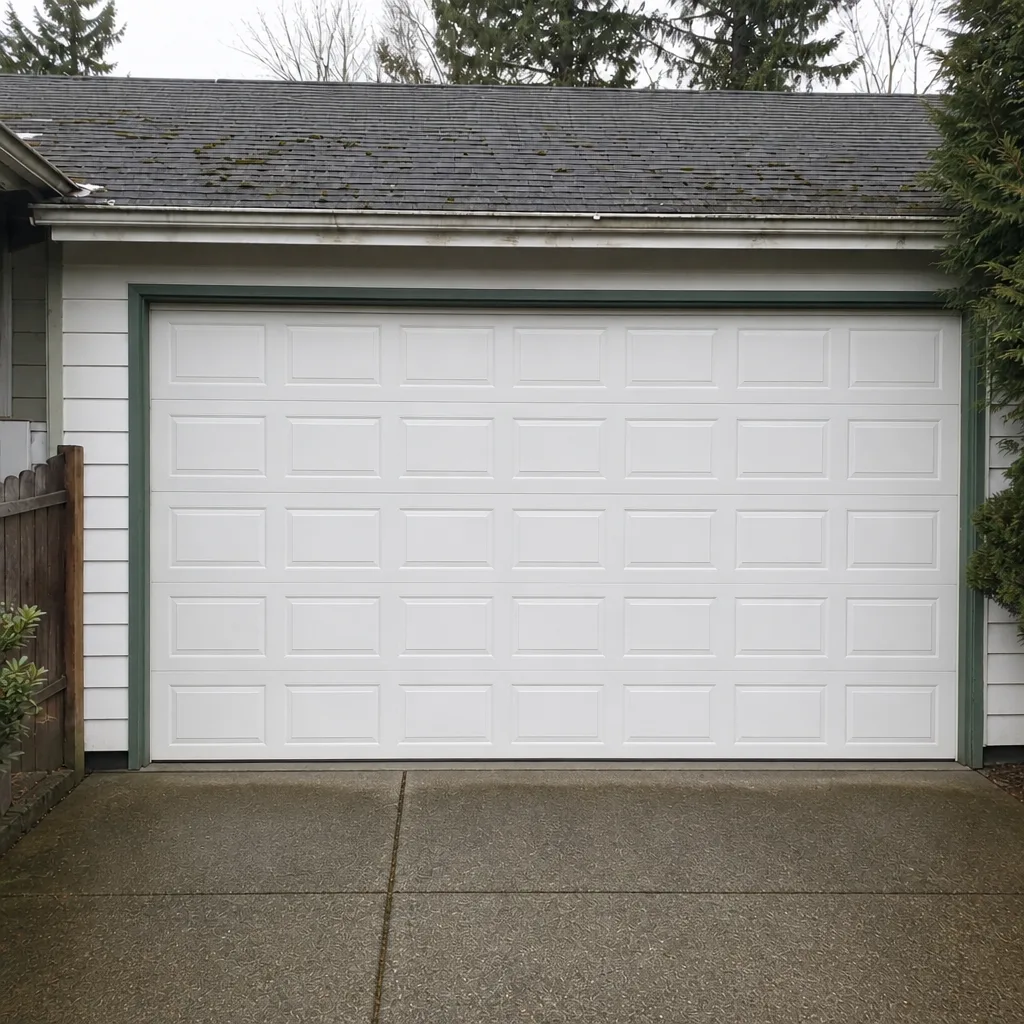 After
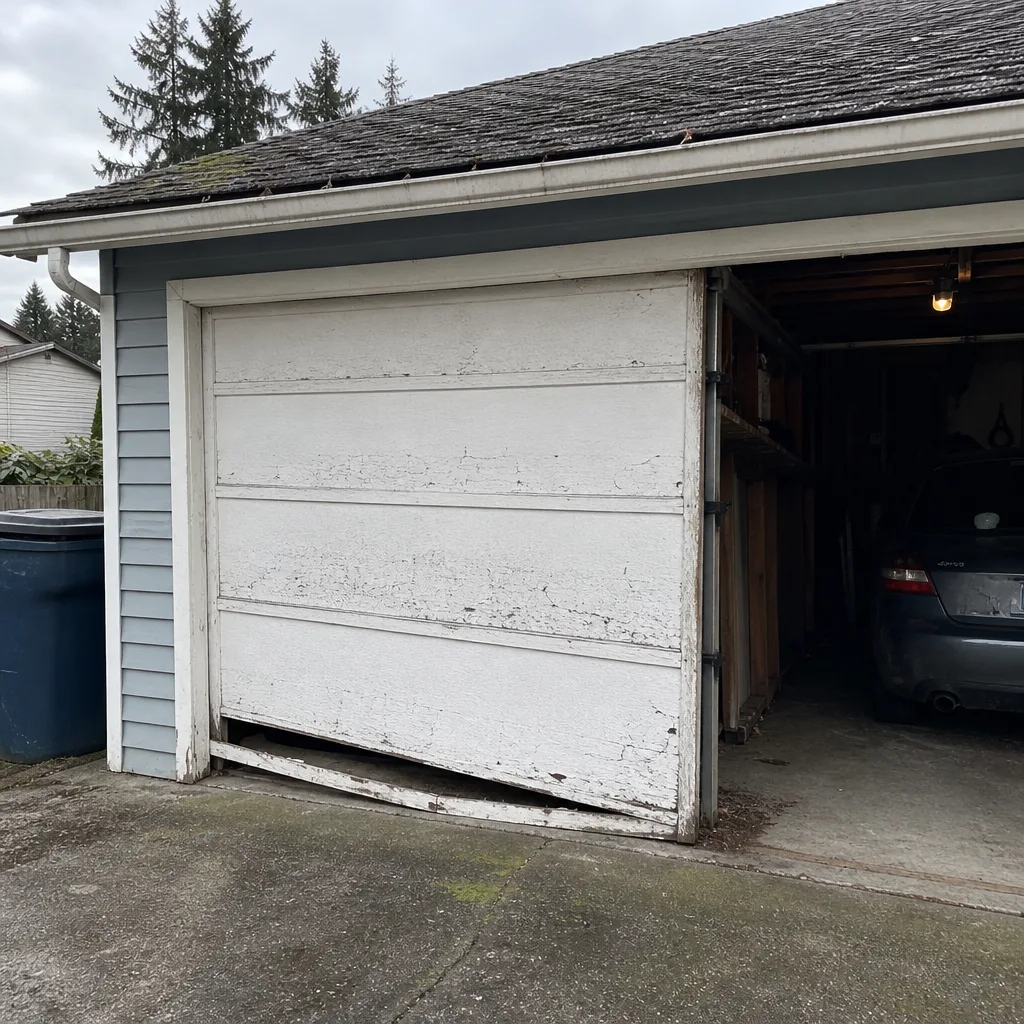 Before
 After
 Before
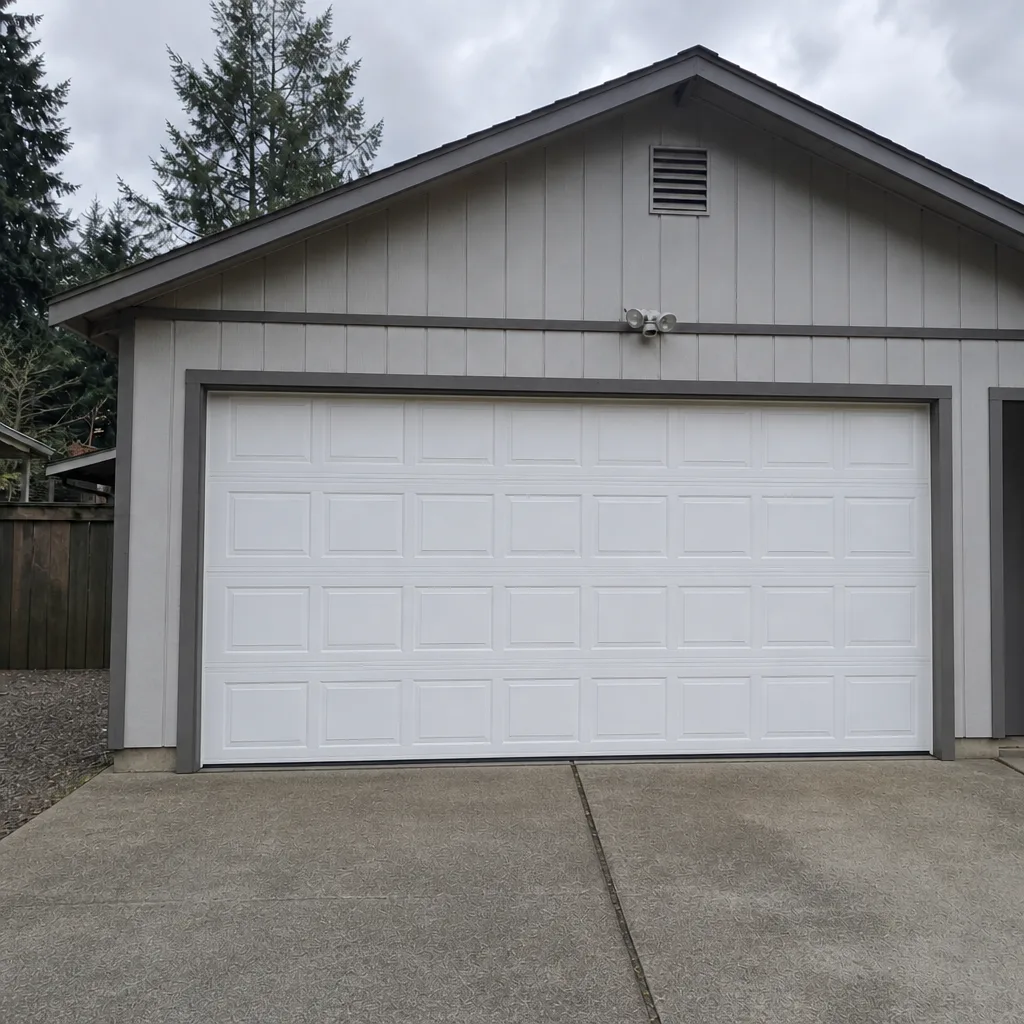 After
When to Call a Professional
Call a professional for anything on the professional-only list, and call promptly. That includes a broken or sagging spring, a frayed or snapped cable, a door that won’t lift or won’t stay up, a door that’s come off track, a bent track, a bottom bracket that’s visibly compromised, and an opener that’s stopped responding or is making internal grinding noises. Also call if a DIY task revealed something you don’t recognize. In Lake City, Lake City Garage Door Repair offers free estimates in Lake City – call (888) 991-5420. Our technicians have up to 11 years of experience, the local professionals we connect you with are licensed and insured as their state requires, and you’ll get a written price before any work starts.
Frequently Asked Questions
Buying the right tools doesn’t change the risk, because the risk is the stored energy in the spring, not the tool in your hand. Torsion and extension springs both hold enough energy to cause serious injury or a fatality when they release under tension, and the failure can happen in a fraction of a second. The safest contribution a homeowner can make is a visual inspection and a call to a professional. Call (888) 991-5420 for an exact quote – estimates are free.
For tasks like lubrication, sensor alignment, and visual inspection, yes, because the material cost is minimal and the work is safe. For anything involving springs, cables, brackets, or opener internals, the savings aren’t real once you factor in the risk of injury, the potential insurance complications, and the lost warranty on a self-performed repair. The written estimate sets the price before we start, so you know what you’re paying before anyone touches the door.
Your insurer can investigate the cause of a claim, and if the investigation determines that a self-performed repair caused the damage, coverage can be disputed or declined. We’re not in a position to interpret your specific policy, so the right call is to ask your insurer directly. What we can say is that professional work comes with documentation, and we can work with your insurer when a claim is involved and provide what they need.
No – the price you agree to in the written estimate is the price for the work described. If the technician finds something additional during the visit, you’ll be told before any extra work begins, and you’ll be given a revised price to agree to first. We don’t start a job and then surprise you with an invoice.
In many cases, yes. We’re open Sunday through Friday, 7am to 7pm, and closed Saturday, and same-day service is available for many repairs. Dispatch runs fast between 7am and 7pm. Call (888) 991-5420 and we’ll tell you the soonest available time – estimates are free.
No. The tracks should be clean and dry. Grease in the tracks collects grit and dust and actually makes the door harder to operate over time. Lubricate the hinges, rollers, and springs with a proper garage door lubricant, but leave the tracks dry. If you’re unsure what to use where, ask us during a visit.
For tasks on the DIY-appropriate list, sure. For spring, cable, bracket, and opener work, you want someone who does garage doors specifically. The failure modes on those components are dangerous and the diagnosis often depends on knowing the specific brand and model. We service eight major brands – LiftMaster, Chamberlain, Genie, Clopay, Amarr, Wayne Dalton, Craftsman, and Raynor – so the odds are good we know your system.
Stop operating the door, lower it safely if you can, and keep people and pets clear. Photograph what you found, note the symptoms, and call a professional. Describe what you were doing and what you discovered so the technician knows the door’s current state. You haven’t made anything worse by stopping – you’ve made the repair easier.
The Bottom Line
Garage door DIY isn’t a yes-or-no question. Lubrication, sensor alignment, visual inspection, and basic preparation are yours to handle, and you should. Springs, cables, brackets, track repair, and opener internals belong to a trained technician, not because you lack skill but because the stored energy makes the risk structural. Understand the line, know the insurance and warranty context in Washington, and when a DIY task reveals something bigger, stop, secure the door, and call. In Lake City, that call is (888) 991-5420 – free estimates, a written price before work starts, and technicians who know the brands on your door.
Whatever brand is on your door, we know it. For a free estimate on repair, spring work, opener service, or a new door, call (888) 991-5420. One call covers the whole door.
Written by the team at Lake City Garage Door Repair.